I am currently studying and preparing for my OSCP, 🤯 often finding myself staring at a terminal for too long. Of course, pentesting and blowing up VMs go hand in hand, so I’m repeatedly setting up VMs back the way I had them, and honestly, is quite a hassle.
This is not just a blog; it’s a ‘Choose Your Own Adventure’ journey. If you crave a detailed breakdown of how I conquered my goals—ideal for newcomers- continue below. Or, if you prefer the fast lane, dive straight to the bottom of this page to uncover our gallery and script/dotfile secrets.
So, sit back, relax, and let’s get started!😃
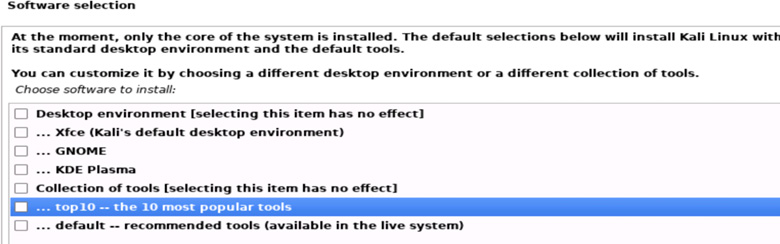
I’ll be starting off with a headless installation of Kali, meaning that I will install it without the graphical user interface (GUI). Upon arriving at the final installation screen from the Kali ISO file, I un-select all options for now (see image below), and will do a separate installation for Kali tool packages once done with everything. I will then showcase using different tools and configurations to customize my desktop environment and GUI to my references. Feel free to grab a copy of the script at our GitHub, if you wish to follow along the write-up.
Once Kali is done installing, we run the following command to install the tools we will be using.
sudo apt install bspwm dunst firefox-esr i3lock libnotify-bin mousepad neofetch nitrogen nnn picom polybar rofi sxhkd terminator xinit xorg unzip -yI’ll cover some of these tools as we go along. First, let’s prepare our working area by setting up directories and borrowing some example config files to copy into our ~/.config folder.
This step provides us better access to the configuration files. Since we will be making changes -like selecting our key bindings and colors for example- it makes more sense to do this than to navigate through /etc and /usr every time.
cp /usr/share/doc/bspwm/examples/bspwmrc ~/.config/bspwm/
cp /usr/share/doc/bspwm/examples/sxhkdrc ~/.config/sxhkd/
cp /usr/share/doc/picom/examples/picom.sample.conf ~/.config/picom/picom.conf
cp /etc/xdg/dunst/dunstrc ~/.config/dunst/
cp /etc/polybar/config.ini ~/.config/polybar/
To understand how our first downloaded tool works we need to familiarize ourselves with what it is X Window System (X or X11). X is a software that provides a graphical user interface (GUI) for Unix-based operating systems. Unlike other GUI systems, X operates as a server; in our case, xinitrc manages graphical displays and user inputs, serving as the server.
Bspwm is a tiling window manager responsible for handling X events and messages. It operates by responding to messages sent by the bspc program, which communicates with bspwm through a dedicated socket. Bspwm organizes windows in a tree-like structure, and its behavior is influenced by various insertion modes, such as manual and automatic modes, determining how new windows are added to the layout.
Now that we have a clearer understanding of how X works, our next step is to ensure that bspwm is executable. To achieve this, we make the bspwmrc script executable by using the following command:
chmod +x ~/.config/bspwm/bspwmrcNext, we need to configure xinitrc to launch bspwm and initiate the graphical user interface upon booting, by using the following command:
echo 'exec bspwm' > ~/.xinitrcNow that we’ve unraveled the mysteries of X, let’s add some style! Get ready because next up, we’re diving into key bindings with sxhkd! Simple X Hotkey Daemon (sxhkd) is a unique type of daemon designed to react to input events by executing commands. In simple terms, it was created for handling hotkeys in the X environment. The daemon listens for keyboard events and executes the specified command or action when the assigned key combination or hotkeys are pressed. The configuration file is named sxhkdrc, and here, we will specify the key bindings and the corresponding commands or action to be triggered when they’re pressed. You have the option to keep the default configuration, but I’ve chosen to overwrite the file and make modifications to the hotkeys as outlined below:
# Setting up sxhkdrc:
cat << 'EOL' > ~/.config/sxhkd/sxhkdrc

# terminal emulator
ctrl + 1
	terminator
ctrl + 2
	rofi -show run
ctrl + 3
	firefox

# focus the next/previous window in the current desktop
ctrl + 9
	bspc node -f {next,prev}.local.!hidden.window

# alternate between the tiled and monocle layout
ctrl + 0
	bspc desktop -l next

# close and kill
ctrl + {_,shift + } q
	bspc node -{c,k}
ctrl + {_,shift + } l
	i3lock -i ~/.config/wallpaper/lockscreen.png && notify-send "Screen Locked"

# make sxhkd reload its configuration files:
ctrl + alt + r
	pkill -USR1 -x sxhkd && notify-send "sxhkd reloaded!"

# Cycle node focus
alt + c
        bspc node -f {next.local,prev.local}

# Change focus to biggest node
alt + v
	bspc node -f biggest.local

# Change focus to smallest node
alt + x
	bspc node -f smallest.local

# Promote to master
alt + space
	bspc node -s biggest.local

# Equalize size of all windows
alt + z
	bspc node @/ --equalize

# Rotate windows clockwise and anticlockwise
ctrl + r
	bspc node @/ --circulate {backward,forward}

# expand and contract window node
ctrl + alt + {Left,Down,Up,Right}
  n=10; \
  { d1=left;   d2=right; dx=-$n; dy=0;   \
  , d1=bottom; d2=top;    dx=0;  dy=$n;  \
  , d1=top;    d2=bottom; dx=0;   dy=-$n; \
  , d1=right;  d2=left;  dx=$n;  dy=0;   \
  } \

 # Setting up sxhkdrc:
cat << 'EOL' > ~/.config/sxhkd/sxhkdrc

# terminal emulator
ctrl + 1
	terminator
ctrl + 2
	rofi -show run
ctrl + 3
	firefox

# focus the next/previous window in the current desktop
ctrl + 9
	bspc node -f {next,prev}.local.!hidden.window

# alternate between the tiled and monocle layout
ctrl + 0
	bspc desktop -l next

# close and kill
ctrl + {_,shift + } q
	bspc node -{c,k}
ctrl + {_,shift + } l
	i3lock -i ~/.config/wallpaper/lockscreen.png && notify-send "Screen Locked"

# make sxhkd reload its configuration files:
ctrl + alt + r
	pkill -USR1 -x sxhkd && notify-send "sxhkd reloaded!"

# Cycle node focus
alt + c
        bspc node -f {next.local,prev.local}

# Change focus to biggest node
alt + v
	bspc node -f biggest.local

# Change focus to smallest node
alt + x
	bspc node -f smallest.local

# Promote to master
alt + space
	bspc node -s biggest.local

# Equalize size of all windows
alt + z
	bspc node @/ --equalize

# Rotate windows clockwise and anticlockwise
ctrl + r
	bspc node @/ --circulate {backward,forward}

# expand and contract window node
ctrl + alt + {Left,Down,Up,Right}
  n=10; \
  { d1=left;   d2=right; dx=-$n; dy=0;   \
  , d1=bottom; d2=top;    dx=0;  dy=$n;  \
  , d1=top;    d2=bottom; dx=0;   dy=-$n; \
  , d1=right;  d2=left;  dx=$n;  dy=0;   \
  } \

        bspc node --resize $d1 $dx $dy || bspc node --resize $d2 $dx $dy

# set the window state
ctrl + alt + {t,s,f}
	bspc node -t {tiled,pseudo_tiled,floating,fullscreen}
EOL
As you can see, when we load into our environment, we can simply utilize the Ctrl + number keys to launch various tools, such as Terminator, Rofi (the application launcher), and Firefox. The rest of the number keys are available for your customization! However, Ctrl + 0 is set to resize the current node from tiled to fullscreen.
Here is a table breaking down the current configuration:
| KEY COMBO | DESCRIPTION |
ctrl + 1 | Terminator |
ctrl + 2 | rofi -show run |
ctrl + 3 | Firefox |
ctrl + 9 | Focus next / previous window |
ctrl + 0 | Alternate between tiled / monocle |
ctrl + q | Close / kill |
ctrl + {_,shift + } l | Lock screen |
ctrl + alt + r | Reload sxhkd |
alt + c | Cycle node focus |
alt + v | Change focus to biggest node |
alt + x | Change focus to smallest node |
alt + space | Promote to master |
alt + z | Equalize size of all windows |
ctrl + r | Rotate windows clockwise |
ctrl + alt + {Left,Down,Up,Right} | Expand and contract window node |
ctrl + alt + {t,s,f} | Set the window state |
Be sure to get a feel for what works best for you. Some of these are really handy and fun to play with, ctrl + r is becoming my favorite! To learn more about sxhkd, visit this link and check out the /usr/share/doc/bspwm/examples/bspwmrc file for more examples.
Next on our journey, let’s make a hideaway for our wallpapers within the .config folder. Now, channeling the spirit of the 1995 movie ‘Hackers,’ we’re set to download the iconic wallpaper and lock screen images we’ve created, bringing some 90’s touch to your desktop.
wget -O ~/.config/wallpaper/wallpaper.jpg https://hexxedbitheadz.com/wp-content/uploads/2024/03/wallpaper-HACKERS.jpg && wget -O ~/.config/wallpaper/lockscreen.png https://hexxedbitheadz.com/wp-content/uploads/2024/03/lockscreen-HACKERS.pngPerfect! Now, let’s dive into configuring bspwm. As a tiling window manager, bspwm offers a variety of options, and it’s currently one of the more popular choices. We’ll be appending some commands in the configuration file, ensuring they load automatically for us when Kali boots. Don’t worry about the files we haven’t covered yet; we’ll get to those soon.
To learn more about bspwm, visit this link!
# Setting up tools to auto-start:
cat << EOL >> ~/.config/bspwm/bspwmrc
picom --config ~/.config/picom/picom.conf --daemon &
~/.config/polybar/launch.sh
/usr/bin/dunst &

# Setting wallpaper
nitrogen --set-auto ~/.config/wallpaper/wallpaper.jpg &
EOL
Now, when it comes to terminals, ask five Linux users what they use, and you might get five different answers—diversity at its finest! I’m choosing Terminator. Get ready to spice it up with a custom font, colors that pop, and some nifty tweaks that say goodbye to the header and scrollbar. Because who needs ’em anyway? For that we will use the following:
# Setting up Terminator:
mkdir ~/.config/terminator && touch ~/.config/terminator/config
cat << EOL > ~/.config/terminator/config
[global_config]
[keybindings]
[profiles]
  [[default]]
    use_system_font=False
    font = GoMono Nerd Font Semi-Bold 18
    foreground_color = "#00ff00"
    borderless = True
    hide_tabbar = True
    show_titlebar = False
    scrollbar_position = hidden
[layouts]
  [[default]]
    [[[window0]]]
      type = Window
      parent = ""
    [[[child]]]
      type = Terminal
      parent = window0
[plugings]
EOL
This next section covers customizing terminator colors to match the wallpaper. We also remove the normal user@host format, as we move it to the header bar seen later:
# Customizing terminator colors:

cat << EOL >> ~/.zshrc
autoload -U colors && colors

function change_color() {
    if [[ "$?" = 0 ]]; then
    return "green"
  else
    return "red"
  fi
}

# Set terminal prompt to red:
PS1="%F{green}➜%f %b"

# Autoload startx after login:
#if [ -z "$DISPLAY" ] && [ "$XDG_VTNR" -eq 1 ]; then
#  exec startx
#fi

# Set terminal color to #87d63c:
printf '\033]10;#00aefd\007'

# Show hidden items in nnn:
export NNN_OPTS="H"
EOL
Now let’s talk about picom! Picom plays an important role in enhancing the shadow, fading, translucency and other nice features of our window frames. In the following command, we’ll use `sed` to customize the configuration file. The following command, adds a touch of opacity to our Terminator window:
# Customizing picom settings:
sed -i '/# opacity-rule = \[\]/c\opacity-rule = ["80:class_g = '\''Terminator'\'' && focused", "80:class_g = '\''Terminator'\'' && !focused"];' ~/.config/picom/picom.conf
The following command adjusts the shadow and fading settings. Feel free to experiment and find the perfect combination that suits you!
sed -i 's/shadow-radius = 7;/shadow-radius = 10;/g' ~/.config/picom/picom.conf
sed -i 's/shadow-offset-x = -7;/shadow-offset-x = -5;/g' ~/.config/picom/picom.conf
sed -i 's/shadow-offset-y = -7;/shadow-offset-y = 15;/g' ~/.config/picom/picom.conf
sed -i 's/# shadow-opacity = .75/shadow-opacity = 0.5;/g' ~/.config/picom/picom.conf
sed -i 's/fade-in-step = 0.03;/fade-in-step = 0.07;/g' ~/.config/picom/picom.conf
sed -i 's/fade-out-step = 0.03;/fade-out-step = 0.07;/g' ~/.config/picom/picom.conf
To learn more about picom, click here!
Fonts! I absolutely love playing around with them, and guess what? We’re going to the Nerdfonts universe! It’s not just about fonts; we’re talking in-terminal icons and power buttons!
So, head over to Nerdfonts website, choose your font (replace ‘Go-Mono’ if you’re feeling brave), and then run these commands to download, install, and update the font cache:
# Getting and setting up nerd-fonts:
wget https://github.com/ryanoasis/nerd-fonts/releases/download/v3.0.2/Go-Mono.zip
mkdir -p ~/.local/share/fonts
unzip Go-Mono.zip -d ~/.local/share/fonts/
fc-cache ~/.local/share/fonts
So far, we’ve played with fonts, set up wallpapers, mastered hotkeys, and configure our terminal. What’s next on our customization journey? It is time to give some love to the status bar using the one and only Polybar!
Polybar is an easy and customizable status bar that will help us create the perfect bar for our GUI. In this example, we will have a top and bottom status bar and use colors that will match with our background. For this, we will use `sed` to make the changes to the configuration file as seen bellow:
# Customizing polybar:
sed -i 's/background = #282A2E/background = #00/g' ~/.config/polybar/config.ini
sed -i 's/background-alt = #373B41/background-alt = #000000/g' ~/.config/polybar/config.ini
sed -i 's/foreground = #C5C8C6/foreground = #00aefd/g' ~/.config/polybar/config.ini
sed -i 's/primary = #F0C674/primary = #ffffff/g' ~/.config/polybar/config.ini
sed -i 's/secondary = #8ABEB7/secondary = #000000/g' ~/.config/polybar/config.ini
sed -i '/disabled =/a cancelButton = #a60026' ~/.config/polybar/config.ini
sed -i 's/\[bar\/example\]/[bar\/Top]/g' ~/.config/polybar/config.ini
sed -i '/^\[bar\/Top\]$/a bottom=false' ~/.config/polybar/config.ini
sed -i 's/height = 24pt/height = 32pt/' ~/.config/polybar/config.ini
sed -i 's/radius = 6/radius = 0/' ~/.config/polybar/config.ini
sed -i 's/line-size = 3pt/line-size = 2pt/' ~/.config/polybar/config.ini
sed -i 's/border-size = 4pt/border-size = 0pt/' ~/.config/polybar/config.ini
sed -i 's/border-color = #00000000/border-color = #00/' ~/.config/polybar/config.ini
sed -i 's/padding-left = 0/padding-left = 1/g' ~/.config/polybar/config.ini
sed -i 's/padding-right = 2/padding-right = 1/g' ~/.config/polybar/config.ini
sed -i 's/modules-left = xworkspaces xwindow/modules-left = xwindow/g' ~/.config/polybar/config.ini
sed -i 's/font-0 = monospace;2/font-0 = GoMono Nerd Font:style=Bold/' ~/.config/polybar/config.ini
sed -i 's/modules-right = filesystem pulseaudio xkeyboard memory cpu wlan eth date/modules-right = pulseaudio memory cpu wlan eth powermenu/g' ~/.config/polybar/config.ini

# Replace the eth0 color:
sed -i 's/label-connected = %{F#F0C674}%ifname%%{F-} %essid% %local_ip%/label-connected = %{F#ffffff}%ifname%%{F-} %essid% %local_ip%/g' ~/.config/polybar/config.ini
sed -i 's/%{F#F0C674}%ifname%%{F-} %local_ip%/%{F#ffffff}%ifname%%{F-} %local_ip%/g' ~/.config/polybar/config.ini

# Replace the date format:
sed -i 's/date = %H:%M/date=%Y-%m-%d %H:%M:%S/g' ~/.config/polybar/config.ini
Now, we will use the ‘cat’ command to append the following values to our polybar config.ini file
cat << 'EOL' >> ~/.config/polybar/config.ini
[bar/Bottom]
bottom=true
width = 100%
height = 18pt
radius = 6
; dpi = 9
background = ${colors.background}
foreground = ${colors.foreground}
padding-left = 1
padding-right = 1
module-margin = 1
font-0 = GoMono Nerd Font:style=Bold
modules-left = bspwm
modules-right = date
cursor-click = pointer
cursor-scroll = ns-resize
enable-ipc = true
; wm-restack = generic
; wm-restack = bspwm
; wm-restack = i3
; override-redirect = true

[module/bspwm]
type = internal/bspwm
; Customize the module as needed
format =
; Customize the colors for the active and inactive workspaces
label-focused-foreground=${colors.primary}
label-focused-background=${colors.background}

[module/powermenu]
type = custom/menu
expand-right = true
format-spacing = 1
label-open = "xxx"
label-open-foreground = ${colors.primary}
label-close = xxx cancel
label-close-foreground = ${colors.foreground}
label-separator = |
label-separator-foreground = ${colors.foreground}
;Powermenu
menu-0-0 = "Reboot"
menu-0-0-exec = menu-open-1
menu-0-0-foreground = ${colors.foreground}
menu-0-1 = "Power Off"
menu-0-1-exec = menu-open-2
menu-0-1-foreground = ${colors.foreground}
menu-0-2 = "Hibernate"
menu-0-2-exec = menu-open-3
menu-0-2-foreground = ${colors.foreground}
;Reboot
menu-1-0 = "Reboot"
menu-1-0-exec = systemctl reboot
menu-1-0-foreground = ${colors.primary}
menu-1-1 = "Cancel"
menu-1-1-exec = menu-open-0
menu-1-1-foreground = ${colors.cancelButton}
;Shutdown
menu-2-0 = "Power off"
menu-2-0-exec = systemctl poweroff
menu-2-0-foreground = ${colors.primary}
menu-2-1 = "Cancel"
menu-2-1-exec = menu-open-0
menu-2-1-foreground = ${colors.cancelButton}
;Hibernate
menu-3-0 = "Hibernate"
menu-3-0-exec = systemctl hibernate
menu-3-0-foreground = ${colors.primary}
menu-3-1 = "Cancel"
menu-3-1-exec = menu-open-0
menu-3-1-foreground = ${colors.cancelButton}
EOL
Let’s take a quick look at our top ploybar with the following command:
polybar -r TopWhile configuring and experimenting with the config files, I noticed that some of items in the bar did not change colors and they do not look right. So, we are going to use our `sed` command to fix them:
# Replace the eth0 color:
sed -i 's/label-connected = %{F#F0C674}%ifname%%{F-} %essid% %local_ip%/label-connected = %{F#ffffff}%ifname%%{F-} %essid% %local_ip%/g' ~/.config/polybar/config.ini
sed -i 's/%{F#F0C674}%ifname%%{F-} %local_ip%/%{F#ffffff}%ifname%%{F-} %local_ip%/g' ~/.config/polybar/config.ini

# Replace the date format:
sed -i 's/date = %H:%M/date=%Y-%m-%d %H:%M:%S/g' ~/.config/polybar/config.ini
We get another preview and now it is much better! Now, we need to create a launch.sh file that will automatically launch polybar when we boot the system and login. Ensure this script lands in your .config/polybar/ directory, as that’s where we assigned it in the bspwm config file earlier:
# Modifying launch.sh to include polybar when booting:
cat << EOF > ~/.config/polybar/launch.sh

#!/usr/bin/env bash
# Launch Top bar
echo "---" | tee -a /tmp/polybar1.log
polybar Top 2>&1 | tee -a /tmp/polybar1.log & disown

echo "Top Bar launched..."

# Launch Bottom bar
echo "---" | tee -a /tmp/polybar1.log
polybar Bottom 2>&1 | tee -a /tmp/polybar1.log & disown

echo "Bottom Bar launched..."
EOF
Do not forget to make it an executable!
chmod +x ~/.config/polybar/launch.shTo learn more about polybar click this link!
Last, but certainly not the least, is Dunst! Dunst lets you customize your alerts in style. We’ve already copied a sample file into our .config directory, so now, it’s time make Dunst truly ours, just like hacking into a Gibson in ’95 by using `sed`, of course!
# Customizing dunstrc notifications:
sed -i '/\[urgency_low\]/,/timeout = 10/ { s/background = "#222222"/background = "#0c75a0"/; s/foreground = "#888888"/foreground = "#000000"/; s/# IMPORTANT: colors have to be defined in quotation marks./# IMPORTANT: colors have to be defined in quotation marks./; s/timeout = 10/timeout = 10/; s/#default_icon = \/path\/to\/icon/#default_icon = \/path\/to\/icon/; s/\[urgency_low\]/\[urgency_low\]\n   frame_color = "#19725a"/; }
/\[urgency_normal\]/,/timeout = 10/ { s/background = "#285577"/background = "#19725a"/; s/foreground = "#ffffff"/foreground = "#000000"/; s/timeout = 10/timeout = 10/; s/#default_icon = \/path\/to\/icon/#default_icon = \/path\/to\/icon/; s/\[urgency_normal\]/\[urgency_normal\]\n   frame_color = "#0c75a0"/; }
/\[urgency_critical\]/,/timeout = 0/ { s/background = "#900000"/background = "#ffffff"/; s/foreground = "#ffffff"/foreground = "#a60026"/; s/frame_color = "#ff0000"/frame_color = "#a60026"/; s/timeout = 0/timeout = 0/; s/#default_icon = \/path\/to\/icon/#default_icon = \/path\/to\/icon/; }' ~/.config/dunst/dunstrc
Now let’s reboot our box and witness our digital masterpiece come to life, just like a scene from the Hacker movie!
sudo rebootUpon logging in, we may need to start the GUI manually the first time. Type:
startxNow we should be presented with our wallpaper and polybar. Just a few more things to do to get our environment in a great spot. First let’s fix a section in our .zshrc file:
mousepad ~/.zshrcFind, uncomment, and fix the variables so these lines show up exactly as shown below:
# Autoload startx after login:
if [ -z "$DISPLAY" ] && [ "$XDG_VTNR" -eq 1 ]; then
  exec startx
fi
Great! One last thing I recommend doing. The default arrow icon at the bottom of ~/.zshrc, the PS1 variable, can now be modified. Visit Nerd Fonts Cheat Sheet for inspiration!
*Hint: just enter a space in the search bar to view all available icons. Click the ‘icon’ link on any icon and paste it in place of the arrow above.
Reboot again, log in, and you should automatically get to your GUI without any further commands!
Note- other software installed:
- i3lock: Handles our lock screen wallpaper, lock screen with ctrl + l
- nitrogen: Sets our wallpaper image
- libnotify-bin: Helps set up our notification system
- mousepad: basic text editor
- neofetch: Displays OS information
- rofi: Application launcher, select theme with `rofi-theme-selector`, activate with ctrl + 2
- Also included a cli based file browser (nnn) to get you around, and Firefox for your web browsing needs
🥳Congratulations! 🥳You’ve successfully transformed your Linux environment into a masterpiece! Now, as your newly customized desktop reflects your unique style, think of it as your virtual canvas, create, change, and evolve! Take advantage of the possibilities that Linux customization offers!
Be sure to check out the artistic maestros over at:
https://www.reddit.com/r/unixporn/
Feel free to take a peek at the following resources to keep enhancing your hacker lair, everything from music players to traditional file browsers can be found here:
https://github.com/polybar/polybar-scripts#see-also-these-other-user-repositories
https://github.com/fosslife/awesome-ricing
Thank you for reading! If you’ve got some customizing tips and tricks, spill the beans in the comments!
Happy Holi-hacks, digital rebels! 🎄☃️~🐼 Izzny, outta here!
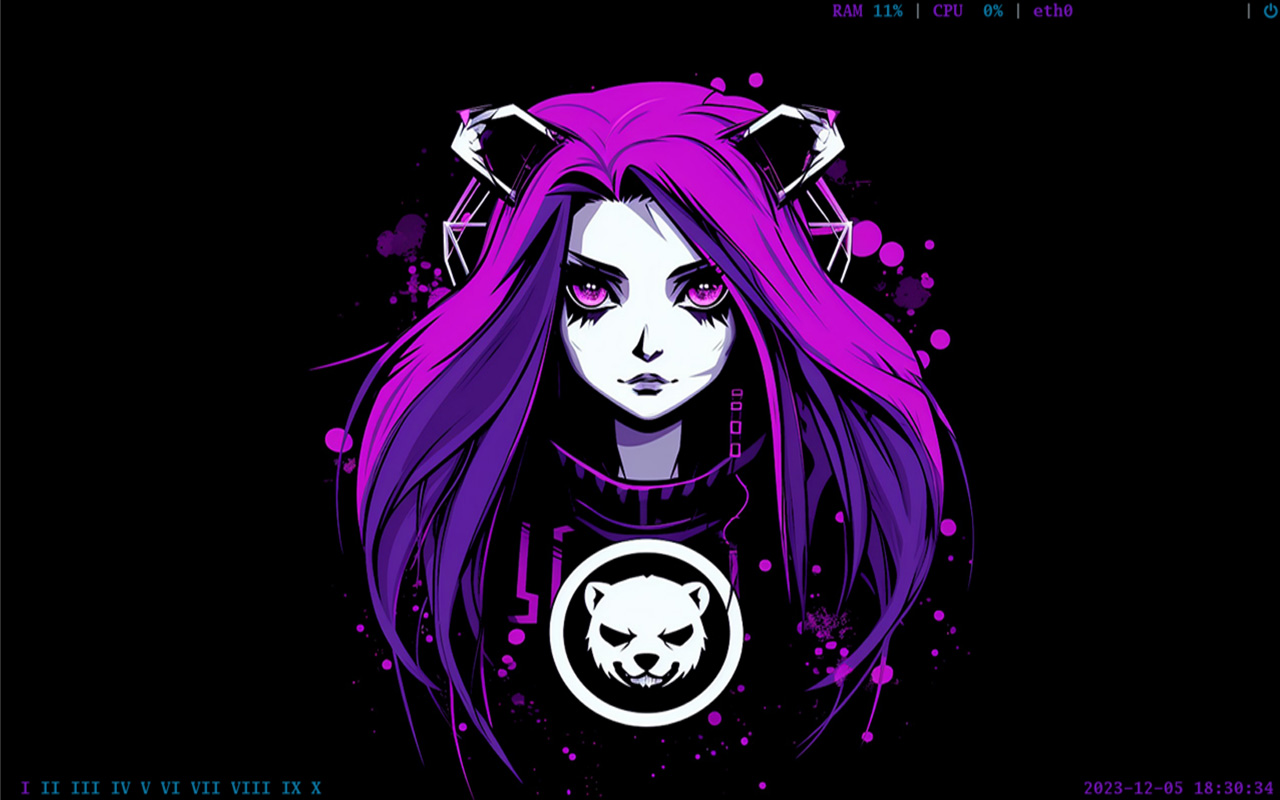
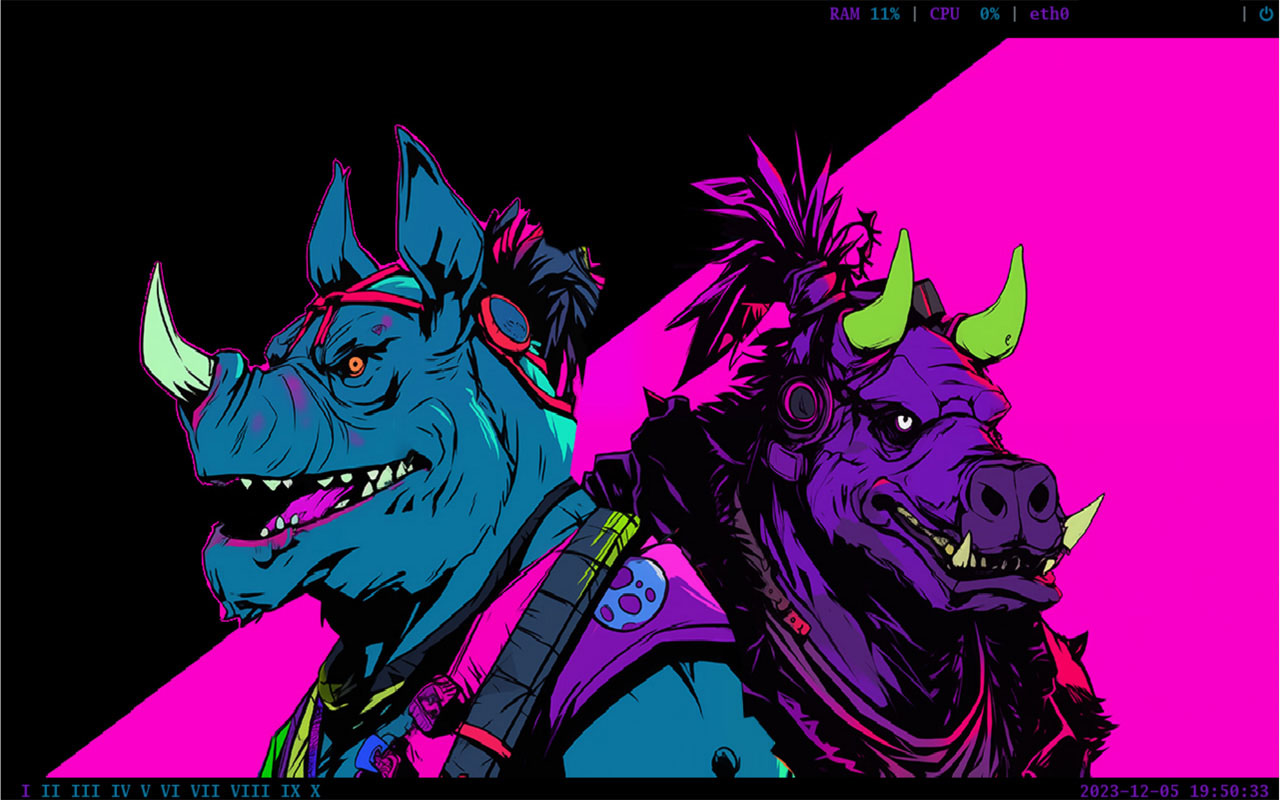
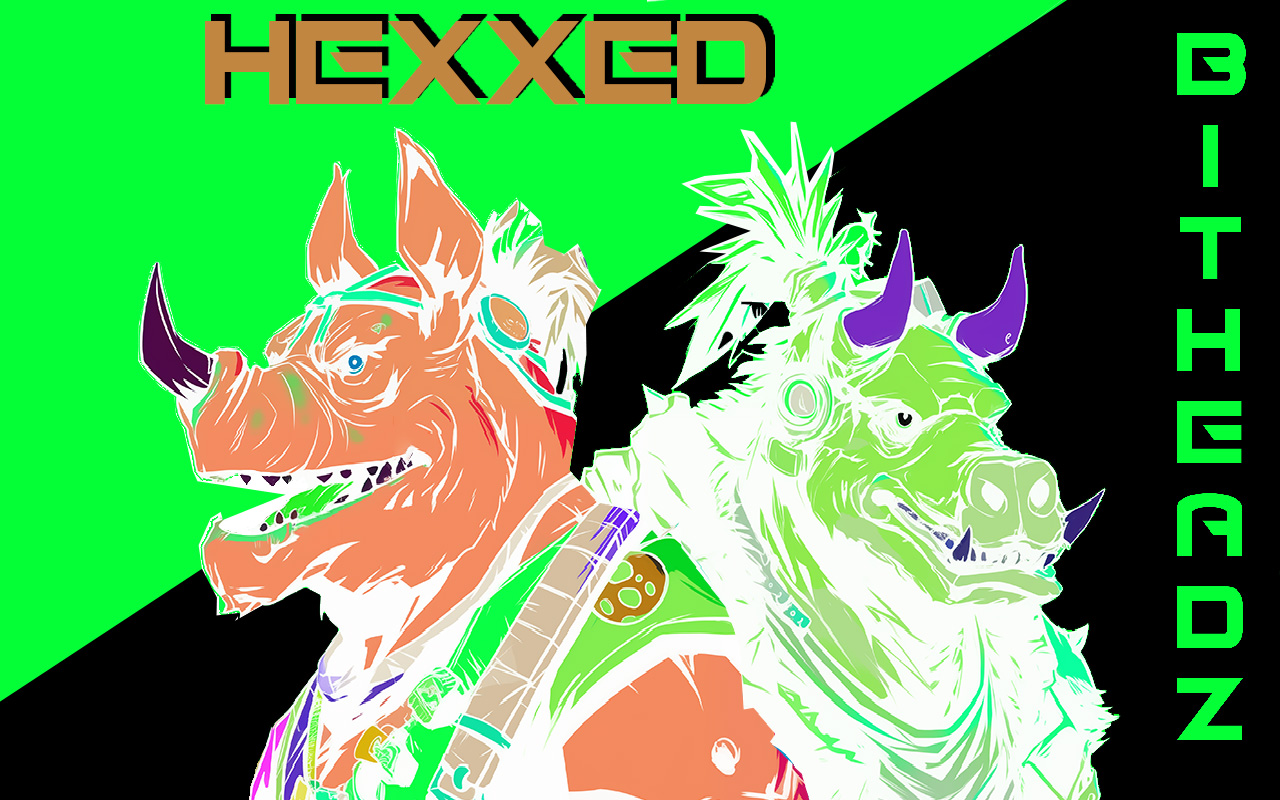
BONUS
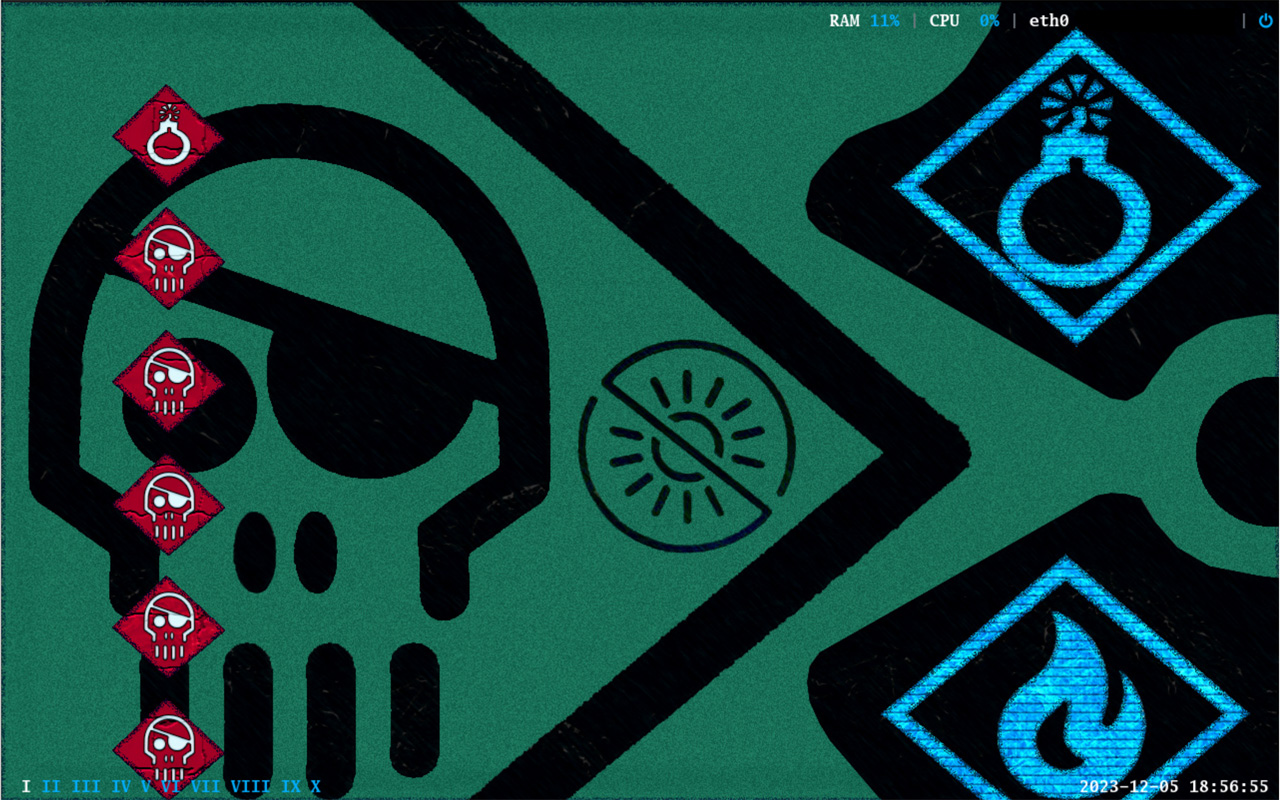
We may have gotten a little carried away with the wallpapers, and wanted to leave them here for anyone to grab! We’ve included a preview of wallpaper and lock screen, feel free to use the linked script to automate the full theme isntallation 🙂
Hackers

https://github.com/HexxedBitHeadz/12-2023-LinuxTheming/blob/main/Hackers.sh
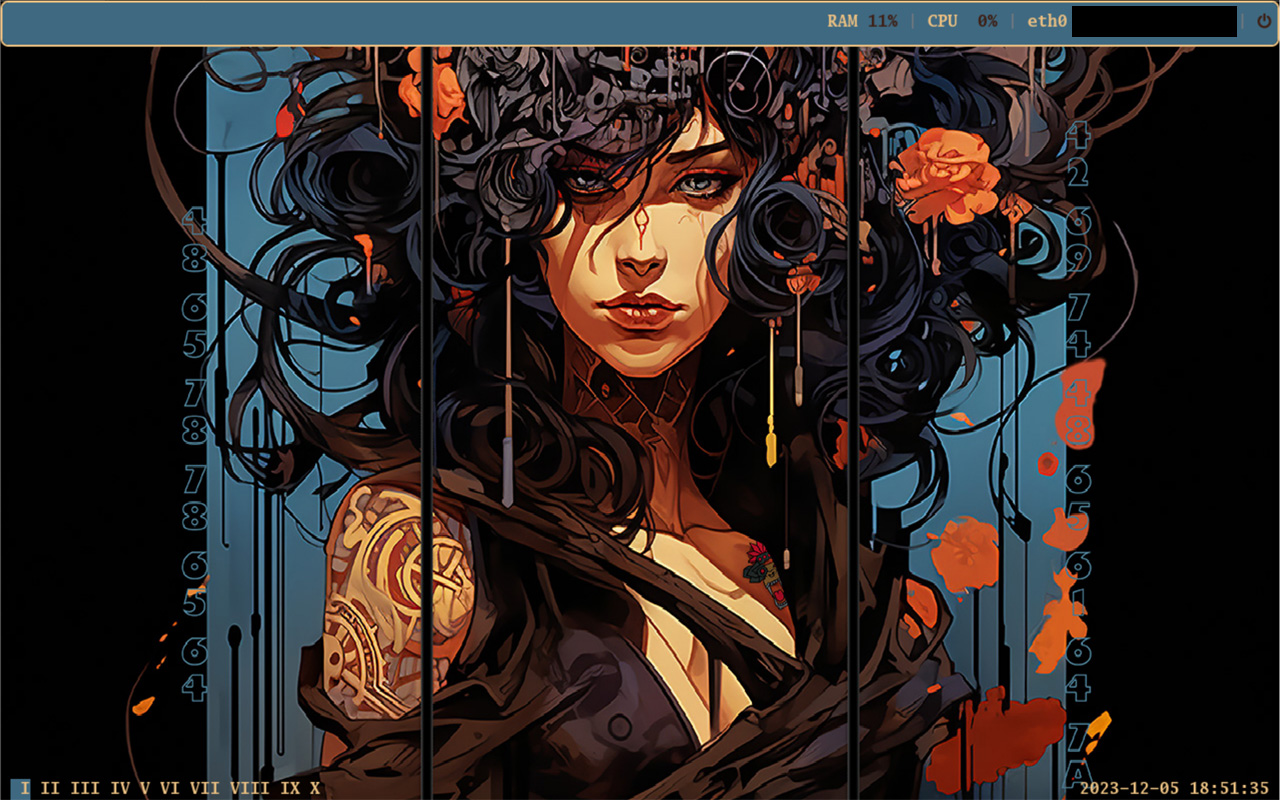
Girl Ghost in the Wires

https://github.com/HexxedBitHeadz/12-2023-LinuxTheming/blob/main/GirlGhostInTheWires.sh
Hexxed-1
https://github.com/HexxedBitHeadz/12-2023-LinuxTheming/blob/main/Hexxed-1.sh
Hexxed-2
https://github.com/HexxedBitHeadz/12-2023-LinuxTheming/blob/main/Hexxed-2.sh
Hexxed-3
https://github.com/HexxedBitHeadz/12-2023-LinuxTheming/blob/main/Hexxed-3.sh
HexxedLogo-Green

https://github.com/HexxedBitHeadz/12-2023-LinuxTheming/blob/main/HexxedLogo-Green.sh
HexxedLogo-Red
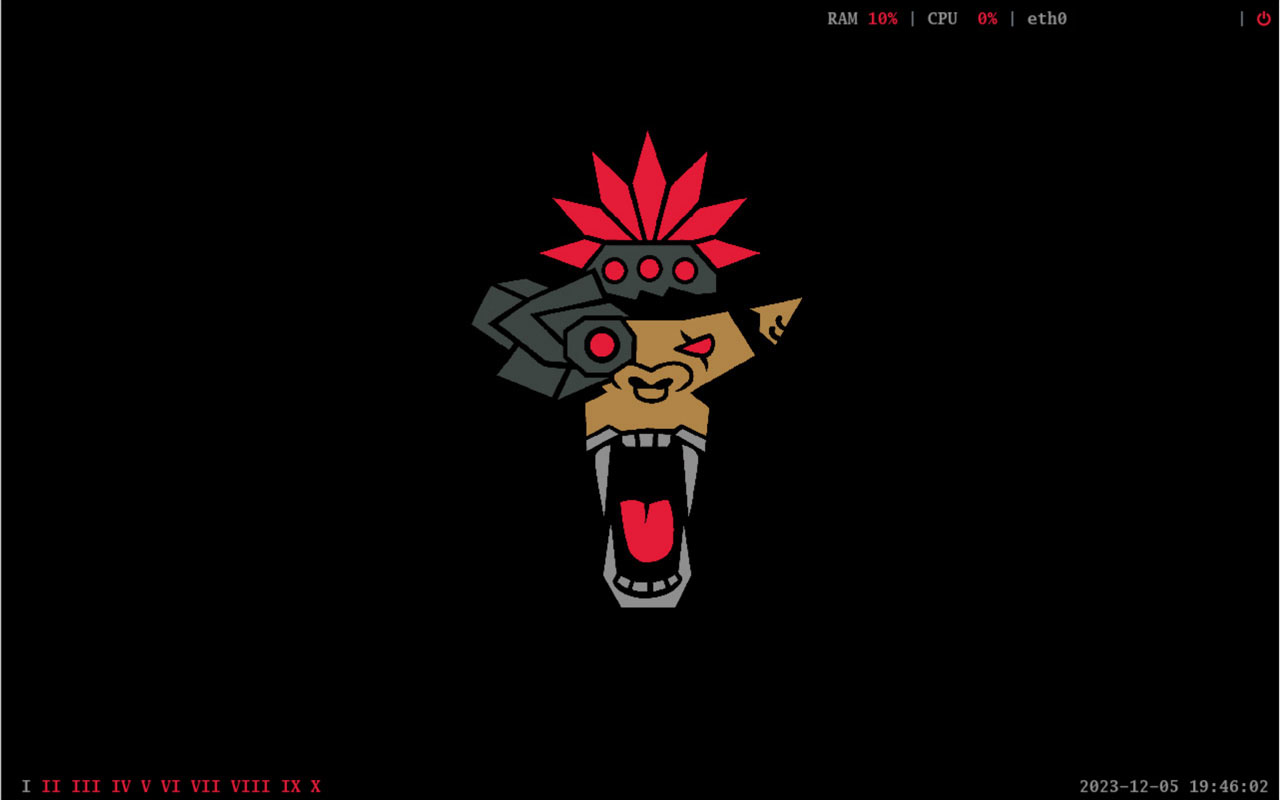
https://github.com/HexxedBitHeadz/12-2023-LinuxTheming/blob/main/HexxedLogo-Red.sh
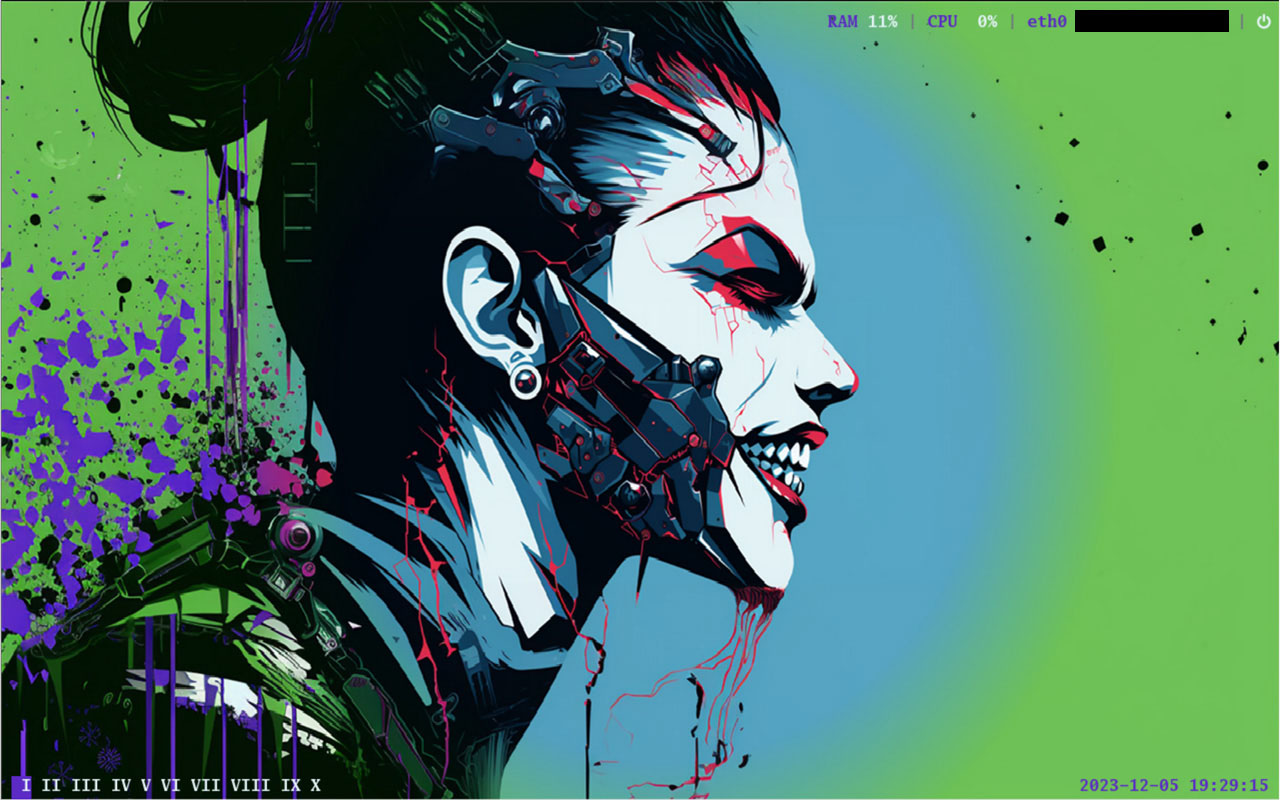
NeonGorilla
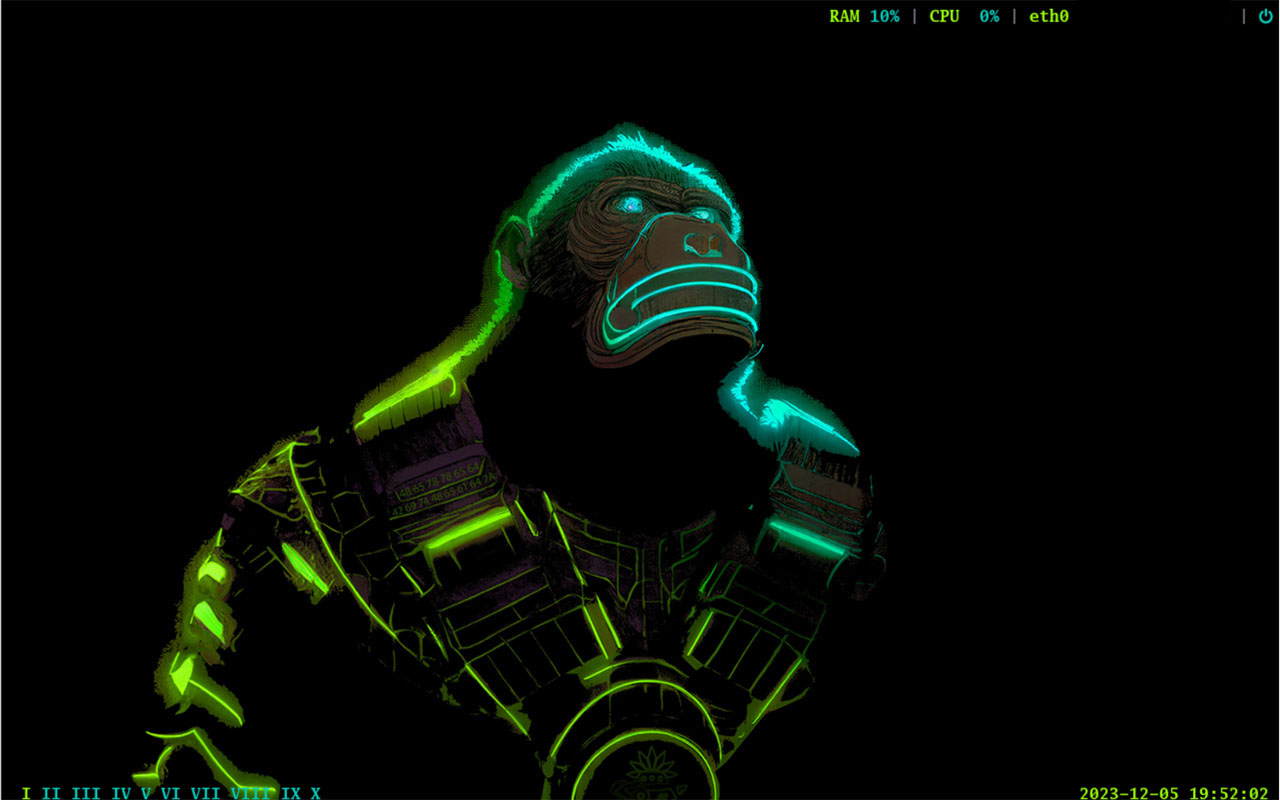
https://github.com/HexxedBitHeadz/12-2023-LinuxTheming/blob/main/NeonGorilla.sh
RockyBebop
https://github.com/HexxedBitHeadz/12-2023-LinuxTheming/blob/main/RockyBebop.sh